Welcome to the armorer’s course for our SIRT 107. These videos and article will cover everything you could want to know regarding maintenance and adjustments of the SIRT 107. This 6 video series covers a variety of topics. Watching all of them will give you a comprehensive understanding but feel free to jump around if you are only interested in certain topics.
- Overview
- Adjusting the Lasers
- Take Up Laser Basics
- Trigger Weight
- Changing the Battery
- Changing Sights
Overview
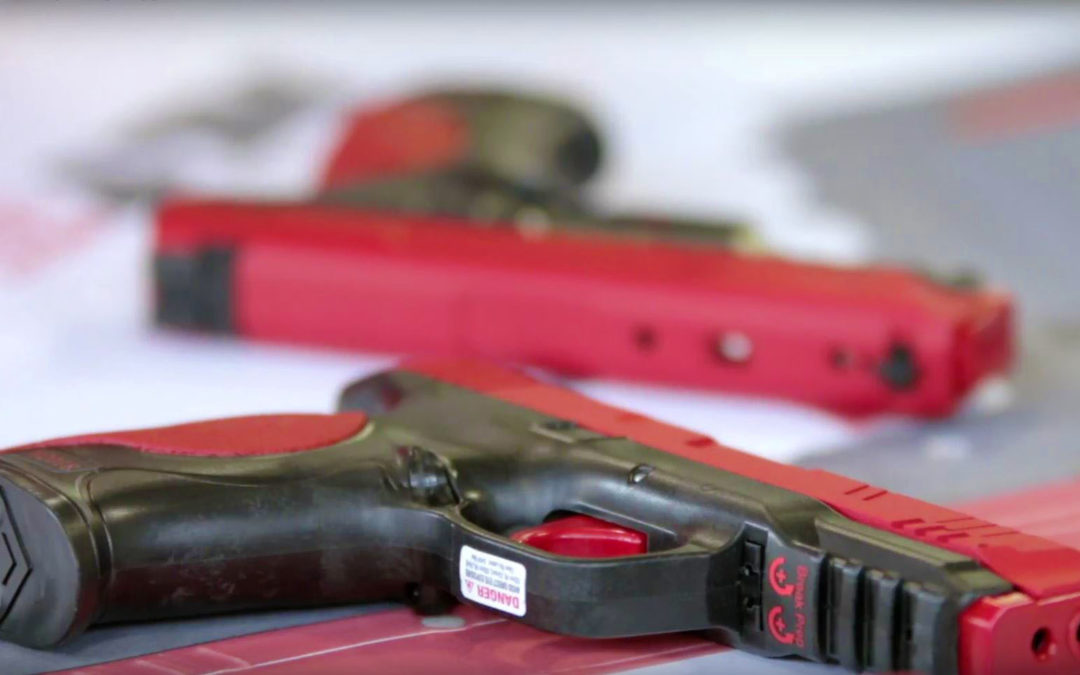
This video goes over the general features of the SIRT 107. Some important things to note are that the magazine is fully removable. Additionally, the back strap is removable and can be replaced with your live fire back strap. Do note that the red SIRT backstrap will not fit on a live fire gun.
Adjusting the Lasers
This video will show you how to adjust the lasers on your SIRT 107. If you are doing physical practice, you may notice that the lasers occasionally become uncalibrated. You can easily bring them back into alignment by using the tool located at the bottom of the grip. Use the tool on the four holes located around the sides of the muzzle of the SIRT. You will be able to see them moving if you hold the SIRT steady and aim at a wall. Adjust the lasers to match your sights, not the other way around.
Elevation holes for each laser are on the top and bottom of the muzzle. The both windage holes are located on the left of the muzzle.
Trigger Take Up Laser
Segment 3 of our armorer course goes over how you can adjust your take up laser. To start, you can turn the take up laser on and off by flipping the small switch near the front sight. 90% of your training will most likely be with the take up laser off but there are a few drills you can master using it.
On the 107, you can adjust exactly when you want that laser to come on. Most people set it to come on when the trigger is prepped but you can set it wherever you like. To adjust when the take up laser is activated, use the hole near the middle of the top of the slide.
Adjusting Trigger Weight
With the SIRT 107, adjusting your trigger weight is extremely easy. There are two holes on the bottom of the gun just in front of the trigger guard. With the adjustment tool, you can adjust the prep weight as well as the break weight. We recommend training with a variety of trigger weights.
Remember: Clockwise will lighten the trigger. Counter Clockwise with make the trigger heavier
Changing the Battery
Battery Type: CR2
Tools: Hammer and Punch
To access the battery, you will need to remove the front pin on the slide. We recommend using a magazine to prop up the front of the gun. Then, firmly tap on the front pin to remove it. Remove the magazine from the gun and slide the rail about an inch forward. From here it should come off by pulling up.
Secondly, remove the pin from above the trigger. This will allow you to access to trigger module. You will notice the battery on the bottom of this module. You can pop it out using the tool on the gun or any metal rod. Replace the battery with a fresh one and make sure the positive side is towards the trigger. Give it a few test trigger pulls before you reassemble the SIRT.
Reassemble the SIRT by putting the trigger module back on and putting the trigger pin back in. Then set the slide on forward from where it would rest. Firmly slide it back and replace the pin that holds it in place.
If you have any questions on this, contact our customer service and they can walk you through the process.
Changing the Sights
Changing the Sights on a SIRT is very similar to changing them on a live fire gun.
For the rear sight, just slide it out and replace it with any aftermarket sight that would fit a live-fire M&P.
For the front sight, the process is the same. Just slide off the existing sight and replace it with any standard sight.
Remember to center your sights before using the SIRT again.
[memb_has_any_tag tagid=”1500″]
[/memb_has_any_tag]
[memb_is_logged_in]
[else_memb_is_logged_in]
Would you like us to send you more good stuff like this?
We can send you our newsletter. Just fill this quick form out.
[memb_set_tag tag_id=”2082″]
Really enjoyed you VIDOES Looks like you have a really nice product here do you have it in a Glock 26
Hi, I am very interested in SIRT. I found out about SIRT through my membership with USCCA. I own a S&W M&P Shield 40, and I am going to purchase a Honor Defense Pro9 in the near future. What is the cost for the SIRT 107 Armorer videos? Are they sperate videos or all included in one DVD. I am retired now.and I live entirely on Social Security so cost is a bit of a concern for me. I live alone and have a lot of free time and the SIRT 107 would be perfect for me. I am a former Vietnam Era Veteran where I received a lot of firearm training. Since then I have not had any training in firearms that is hands on. I love my experience with USCCA and I will continue as a life long member. SIRT seems it will be a perfect fit for me. I am also very interested in LASR. With advancements in tech I could do so much at home. Thank you in advance for your response.
SIRT STYSTEM IS A GREAT WAY TO TRAIN ON HOW TO FIRE YOUR WEAPON, I DID PURCHASE ONE AND I LOVE IT
With videos like this, it tells me that you guys really care about the end user and your products. Very glad I made SIRT my training choice.
It’s very difficult to get good targets. Most are overpriced junk. Do you have any suggestions? I quit using my pistol due to cheap boring targets. Why don’t you make targets?
What about trying stuff like Smokeless Range? Many add-ons, variety of drills and courses…..
What kind of waranttee is offered!
We offer a full 1 Year Warranty on all SIRT pistols.
Is their a Sirt 110 Armorer Course?
There is. It can be found at the link below.
http://nextleveltraining.com/sirt-training-pistol-armorer-course/
What “iron sights” do you recommend for the SIRT STIC for indoors dry fire practice. Most AR sights you can purchase – Magpul, etc. do not allow anything near a zero at six feet or room distances. This will be important when using tools like LASR X and other dry fire laser programs.
Steve your commemt is over a year old so I don’t even know if you will see this. I currently use the Laserlyte Steeltyme targets. I like them because it gives me a visual and/or audio feedback when I get a hit. I like them because I can focus on my front sight or just the target for up close and it lets me know I got the hit by lighting up and/or ringing. This is much better than just shooting the SIRT at a fixed object because most people tend to look over the gun for the laser, then they aren’t focusing on their front sight. I got 2 for $99 off Amazon. I use them by themseleves, but have also cut out holes in a cardboard target and put the targets in the occular triangle and high chest target areas to shoot at something more realistic.
Brian, you wouldnt zero your rifle at 6’ right? So set a slightly more reasonable zero and use this as an excuse to train with offset like you would a live rifle.
Thanks for the great videos. The training value has far exceeded our expectations. These have saved us so much time in evaluating new students. Our intermediate to advanced customers have are seeing the training value when structured appropriately.
Steve, what kind of targets are you looking for?
I’m interested in the SIRT 107 as a way to get more comfortable carrying and firing my Smith and Wesson M and P pistol. I gather one can adjust the trigger pull, but just how similar is the feel of pulling this trigger to the feel of the real thing? And am I assuming correctly that there’s no recoil with the SIRT?
Hello Karen, the trigger pull is very close to the live-fire pistol and can be adjusted to match nearly perfectly. You are correct in assuming that there is no recoil. The SIRT trains all of the fundamentals that come before the bang.