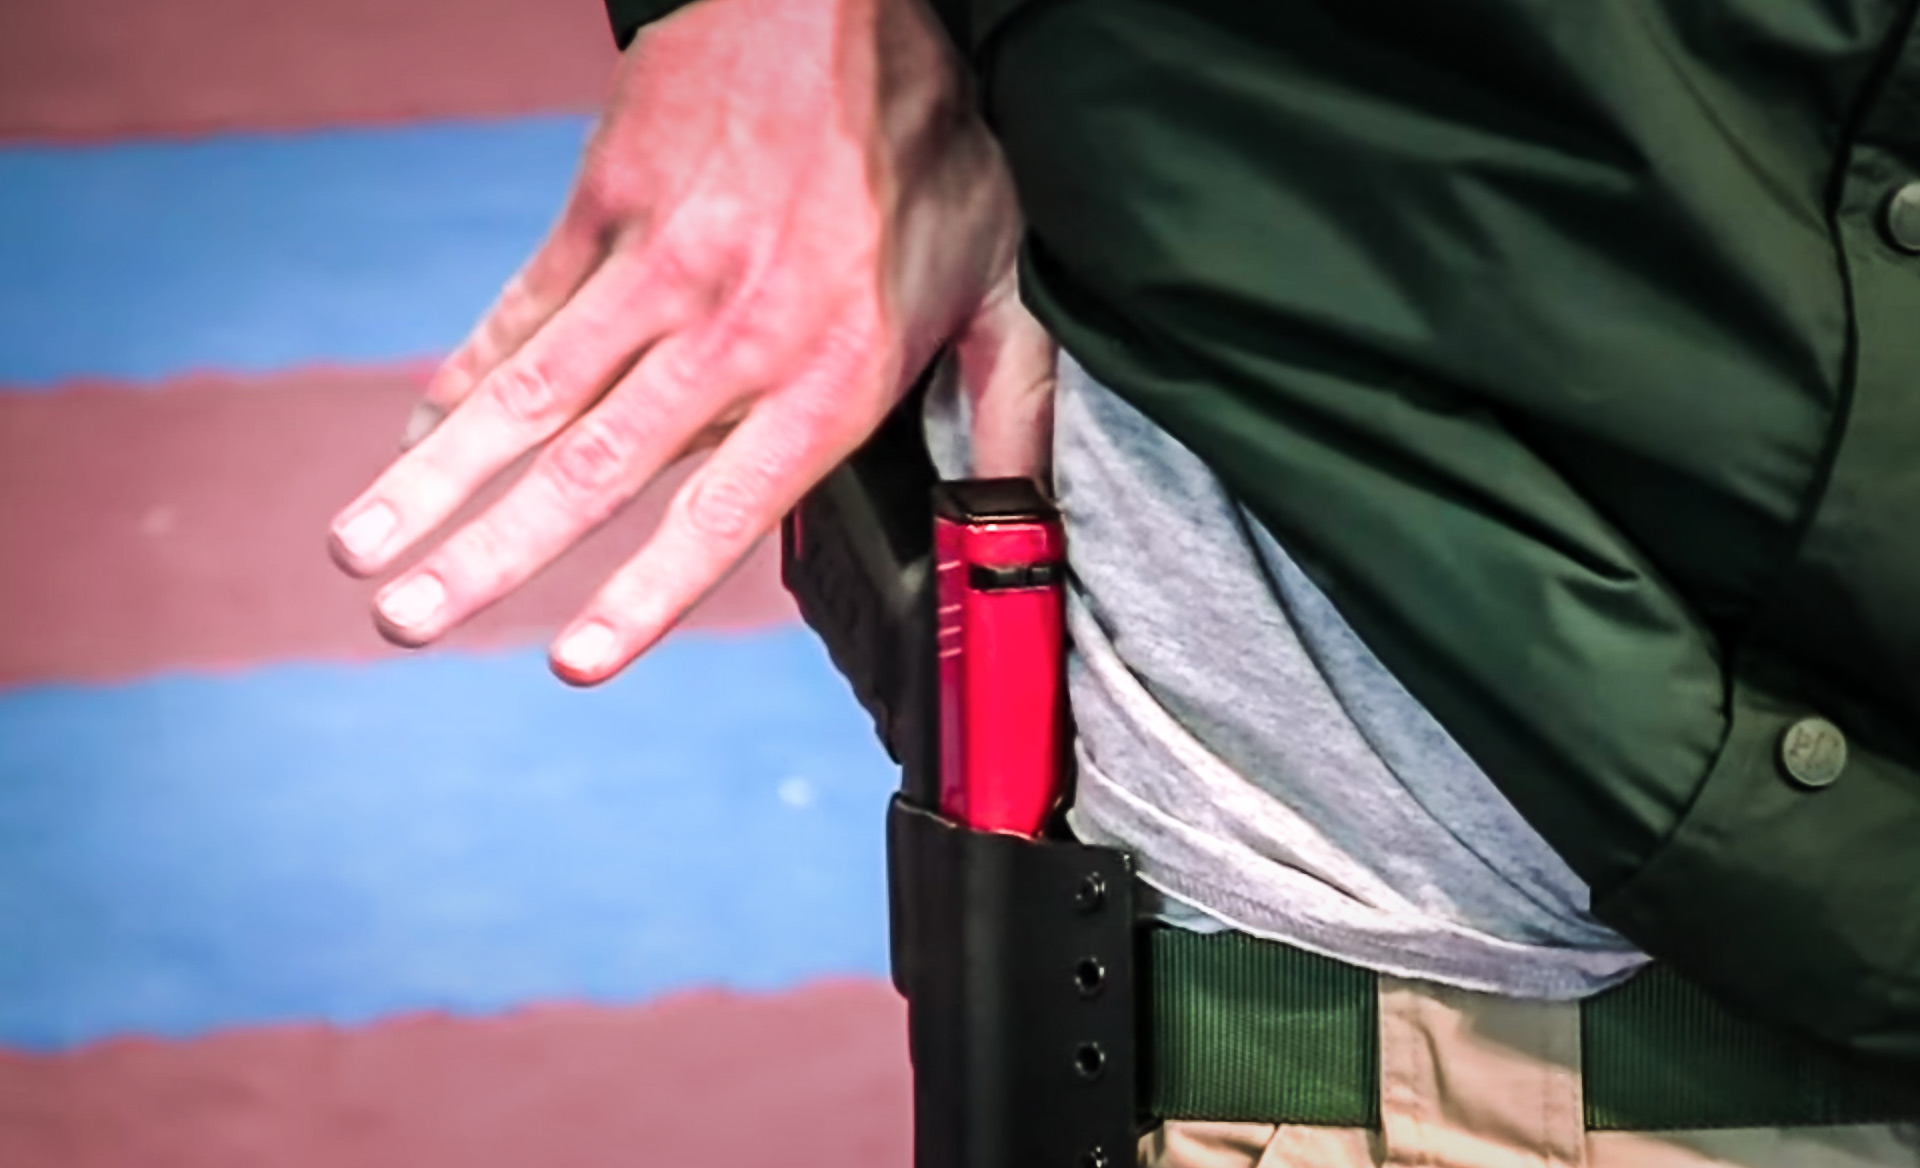
CONCEALED CARRY DRAW
In last segment of our Chris Collins Concealed Carry series, we will go over one handed shooting with both the strong and weak hand. This is an essential skill to work on as it’s possible that one of your hands may be engaged or injured in a fight.
Shooting one handed with your strong hand is extremely similar to how you would shoot with both hands. The only difference is that you will not have your off hand for support while firing. Your body posture should be similar to how you would shoot two handed. However, some people may prefer to lean into the gun a little more. This is fine but make sure to keep a solid foundation.
There are two main angles people choose when shooting one handed. Watch Chris demonstrate both at :45 seconds into the video. Some prefer to angle their gun at a about 45 degrees. While this may have a “gangster” connotation, it is an effective method of shooting one handed. Another way is to twist your elbow so that it is pointing straight down. This results in the gun being held vertically. While this takes slightly longer to get into position, it tightens your shoulders to provide more support.
Starting at 1:20 Chris explains different methods for drawing your gun from the weak side. This can become an issue if you have never practiced it but will become natural over time. As these draws rely on moving the gun in new ways, we recommend training with the SIRT for safety. The first method is fairly simple. To start, reach across the front of your body with your weak hand, grip the gun firmly, and jerk the gun upwards from the holster to remove it. Then, drive the gun between your knees to hold it, switch your grip, and raise your weapon.
Another weak hand method is the “behind the back” method. Chris demonstrates this at 2:15. For this draw, you will simply reach behind your back, grab the weapon, draw it behind your back, and present it forward. This draw is generally quicker than reaching around the front as you do not have to manipulate the gun position on your body. However, due to flexibility, not all people are able to reach their weapon.
The last method we will go over is the rollover method. This is a fairly complicated draw and requires quite a bit of manual dexterity. Once again, we recommend this draw with the SIRT while you become comfortable. At 3:15, Chris demonstrates this draw. To begin, reach across the front of your body, grip the gun, and remove it from the holster. Then, as your move the gun across your body, roll the rear sight across your chest, ensuring that the muzzle is pointed away from your body. Finally, establish your grip, extend the gun, and press the shot.
To conclude this series, Chris will talk about reloading the firearm with one hand. If shooting strong hand, one of the simplest methods to reload is the holster method. To accomplish this, simply drop your current magazine, holster your weapon, grab a magazine with your strong hand, and load it into the gun. Wrack the slide if necessary, extend the gun, and shoot. Chris demonstrates all of this at 5:00 into the video.
We hope this series was both engaging and educational. Knowing how to use your firearm in a variety of situations should be an integral part of your training. We always recommend starting with the SIRT for safety and moving to live fire pistol once comfortable.
Would you like us to send you more good stuff like this?
We can send you our newsletter.

Your one-handed techniques are good. One thing I have trouble teaching people is the proper way of transitioning from one hand to the other. Maybe you could add the transition skill technique to your one handed operation videos. Sometimes moving the pistol from one hand to the other is required.